


WPC Cladding Installation: Tips for Wholesalers and Distributors
Today we're tackling the nuts and bolts of WPC cladding installation. If you're a wholesaler or distributor looking to guide your clients or maybe refine your own knowledge, you're in the perfect spot. Let's jump into the world of WPC cladding, step by step!
Understanding WPC Cladding Material
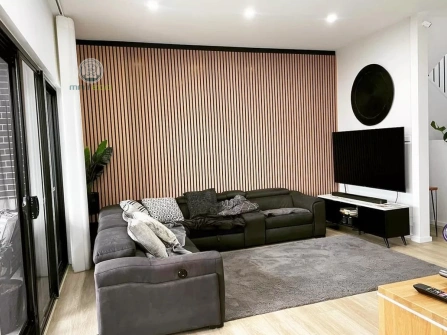
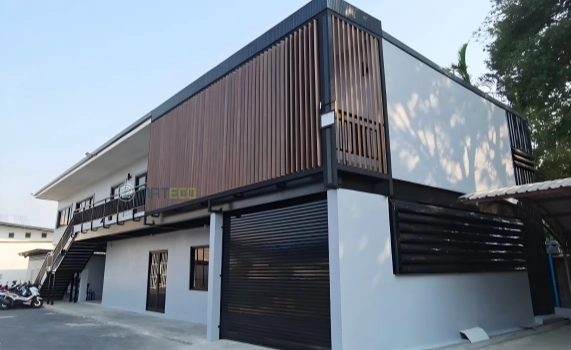
First things first, let's chat about what WPC cladding is. WPC stands for Wood Plastic Composite, a material known for its durability, ease of maintenance, and environmental friendliness. It combines wood fibers and thermoplastics to create a resilient alternative to traditional timber. The beauty of WPC cladding? It's resistant to rot, decay, and pests, making it a solid choice for both residential and commercial properties.
Preparation and Tools Required for WPC Cladding Installation
Before you get started, make sure you've got all your ducks in a row. The right tools can make or break your installation process. You'll need a good drill, screws, fixing clips, a tape measure, and possibly a saw if you need to cut any panels to size. Remember, measure twice, cut once!
Step-by-Step Guide to Installing WPC Cladding
Now, let’s break down the installation steps:
Step 1: Span and Fixing
Ensure the joists are spaced no more than 50cm apart. This close span guarantees that the WPC cladding has the support it needs without risking sag or warp. Use the appropriate screws to fix the cladding to the joists, ensuring that you're drilling straight and avoiding any potential frame damage.
Step 2: Attaching Panels
This is where fixing clips come into play. These little heroes ensure your cladding can handle the natural expansion and contraction caused by temperature changes. When you reach the end of a panel run, adding an extra joist is key to providing the necessary support. At each panel joint, overlap the panels on a single joist for uniformity and strength.
Step 3: Thermal Expansion and Contraction
If you’re working in temperatures below 20°C, leave a 2mm gap at each joint to accommodate for expansion and contraction. This simple step is pivotal to prevent buckling as the weather changes.

MATECO WPC Cladding Installation Guide
Troubleshooting Common Challenges with WPC Cladding
Even the pros run into hiccups. If your panels aren’t aligning, check your joist spacing again. Make sure you're using the right screws for the material of your joists—self-tapping for wood, self-drilling for metal. And always ensure that your fixing clips are properly engaged.
Maintenance and Longevity of WPC Cladding
Post-installation, WPC cladding is relatively low maintenance. However, it's not maintenance-free. Regular cleaning with soap and water keeps the panels looking fresh. And while WPC is resistant to many issues traditional wood faces, it’s wise to perform periodic checks to ensure everything is holding up as it should.
So there you have it, a complete guide to mastering the installation of WPC cladding. Whether you’re distributing these materials or guiding a client through the process, understanding these steps and considerations ensures a top-notch finish. And that’s what we aim for, right? Quality, durability, and a beautiful end product.
If you have any questions about installation matters, please feel free to contact MATECO WPC at any time. Stay tuned for more tips and tricks from the trade.
If you are looking for a WPC manufacturer, MATECO WPC will be your best choice.
Website: https://www.matecowpc.com
WhatsApp: +86-13380085620
Email: info@matecowpc.com